Load an audio file:
Now we will import an audio file using the File Stuff dialog.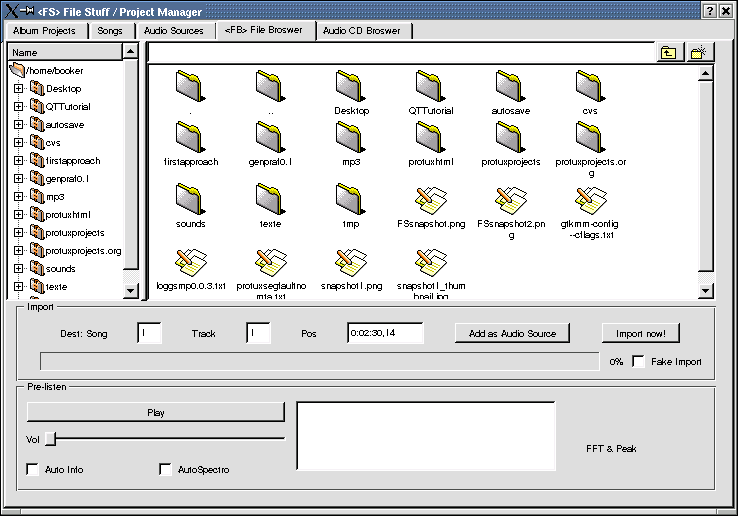
For now we will only pay attention to the 'File Browser' Tab',
because the 'File Stuff/Project Manager' dialog is still under heavy
development. Okay, the 'File Browser' section isn't comfortable right now,
but it works.
HINT: Since there are many functions not implemented at the moment, Protux offers a
special functionality called 'Devel Guardian'. This will open a message window
that gives you some help in such a situation (hit the 'Add as Audio Source'
button for example).
Now finally it's time to import an audio file (WAV in this case). Remember that WAV files are converted to the native Protux Audio Format (PRAF), which in the future will store information other than audio, such as Peak Images, correction filter controllers, Pitch Tracking, and so on, allowing you to avoid using WAV as much as you can.
Search for a file using the area on the right side (No double-click needed! ;-)
and finally hit the 'Import now!' button to load this file into Protux.
How to deal with audio:
PLAY:
Now it`s time to hear your imported audio, so hit the <SPACE> bar just like other audio tools too.ZOOM:
Since <SPACE> isn`t a very innovative action we will go on to change the zoom factor by using another JMB-functionality called the hold-action.
Press and hold the Z key and move the mouse to left/right to change the zoom factor.
You will notice that the appearance of the audio peaks will change. This is because Protux has TWO modes:
A 'Macro View' (for zooms above 1:64) and
A 'Micro View' (in the future, users will be a able to 'Draw' in this mode).
EDGE manipulation:
You don`t want to hear some parts of the beginning and/or the end of your audio?So the principle is that for every action there is a center key that may use some neighbouring keys to enhance the functionality.
To complete this explanation consider the ^C[WR]:LR action.
Do you know which is the center key of this JMB-shortcut?
Please look at your keyboard and you will notice the key between (W, R) is the 'E' key.
The inference is that this action should move the left AND right edge
together when +LR.
And this IS exactly the functionality of ^C[WR]:LR.